

Reading time: 10 minutes
Have you ever listed an item on Etsy and then days later noticed that it was not getting views or visits?
When I’ve done my best on a listing yet it still isn’t getting any “Etsy love,” I turn to eRank’s Track Changes feature. It is tailor-made to help you pinpoint how changes you make to a listing either aid or hinder how well your listing performs. In this article, I’ll share with you how I use this feature to help improve my views, favorites, and sales on Etsy.
What is Track Changes?
Track Changes is an eRank tool developed to help an Etsy seller quickly see changes they have made to a listing, and whether those changes are improving the performance of that listing’s views, favorites, or sales.
When you first turn it on, Track Changes takes a snapshot of the listing. Then every day after that, eRank takes another snapshot once a day (usually in the late evening) until you choose to stop tracking it.
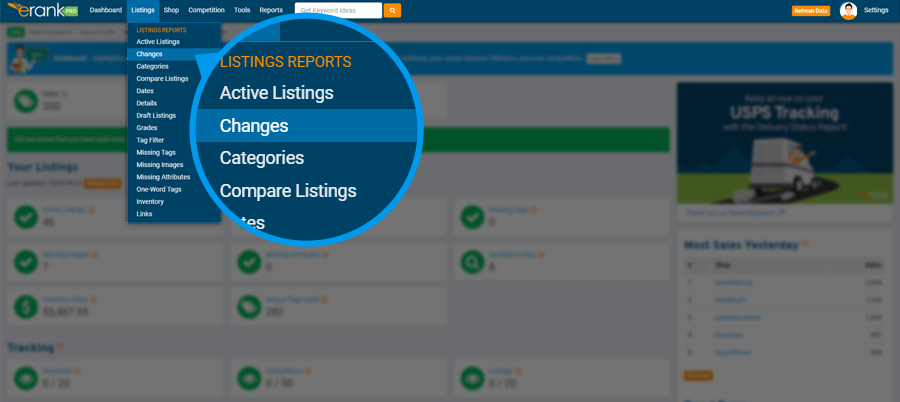
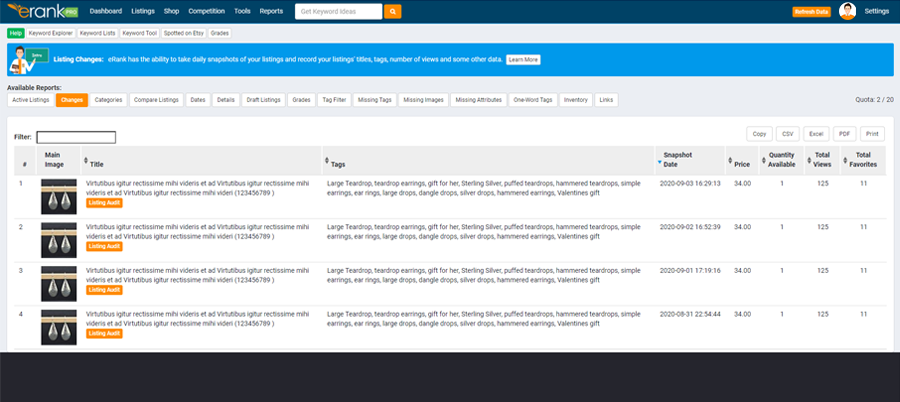
Note that eRank groups all of the listings you are tracking in the Listings > Changes report, so it’s easy to check on them in the future. You can access the Changes report from the Main Menu:
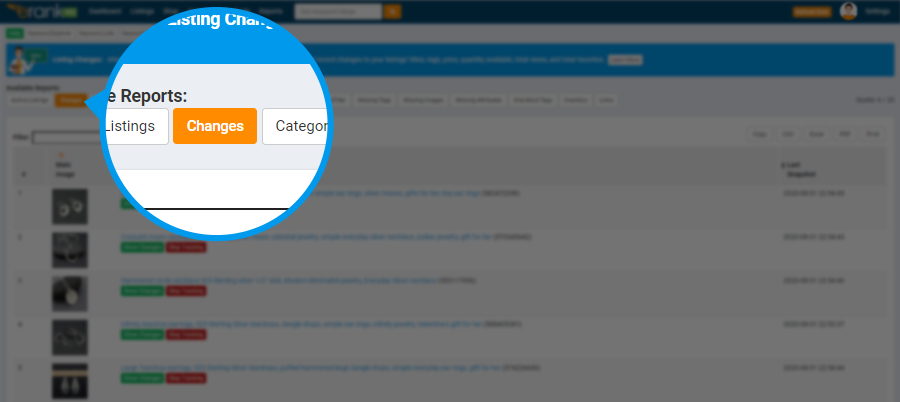
Or you can select Track Changes from within any of eRank’s Listing Reports.
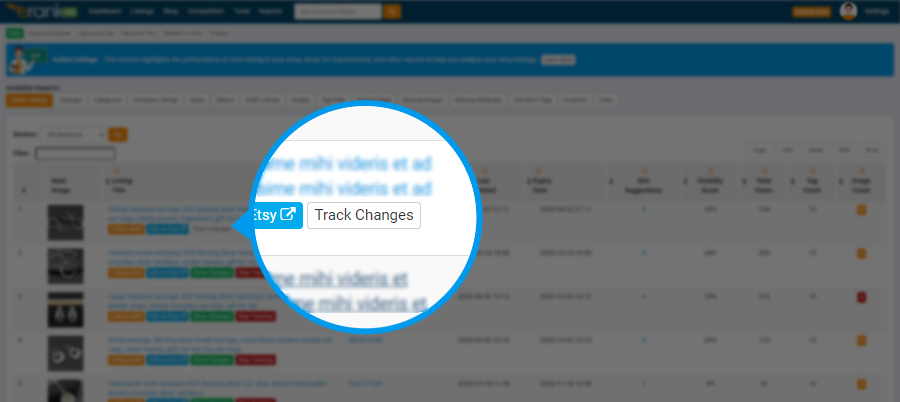
Once you click that white Track Changes button (shown below), eRank takes its first snapshot of your listing, and thereafter, will display the green Show Changes and red Stop Tracking buttons on that listing.
Before we get any further, here are three pro tips.
- First: never change a listing that is doing well! Even if its eRank Grade is a D or worse, if it is generating good sales, don’t change a thing!
- Before you make changes: research!
- After you make changes: changes should always be given adequate time for Etsy to gather data based on how shoppers interact with your listing – do they view it? Visit it? Favorite it? How long do they spend on it? Do they make a purchase? Do they leave a review? I suggest you turn on Track Changes and gather from 30 to 90 days of data so you can make a more “data-driven” assessment of your listing’s title and tags.
And two more pro tips!
When a listing is close to expiring, that’s the perfect time to activate Track Changes (which can only access active listings). Switch tracking on for that listing, then once you renew it you can do your research and optimizing and watch whether its visits, favorites, and sales improve.
I find Track Changes to be especially helpful for seasonal items or, if your items are gift-worthy, for updating your tags to entice shoppers for this or that holiday. To give Etsy plenty of time to index my changes for the upcoming season or holiday, I aim for listing at least 90 days ahead of when that term will start being used by shoppers. I’ve found eRank’s Trend Buzz reports super helpful for seeing when those search terms began appearing the previous year.
Research Your Changes Before You Make Them: Optimizing Tags and Titles
Sure: thumbnail and other images, price, description, feedback, and policies – they all play their part in garnering views, favorites, and sales. But I figure that a shopper can’t see a listing if it doesn’t show up in an Etsy search. So, when it comes to making changes, once I’ve clicked that white Track Changes button, I begin first with researching my tags and title.
I research my tag keywords in several places. Inside my Etsy shop, I check my Search Terms: (Shop Manager > Stats > and then under How Shoppers Found You, click on Etsy search, and scroll down to the bottom to Search Terms). And I also check the beta Marketing > Search Analytics for its list of Search Query terms. Then, I move over to Etsy’s home page, where I use the search bar to look at the titles and images for listings like mine. I use eRank’s Keyword Tool and Keyword Explorer to research my tags and look for long-tail keywords. Along the way, I either open one of my existing Keyword Lists or start a new one, so it can keep track of the keywords I’m finding in all these different places.
For my title, I break it into separate phrases, and run each of them through eRank’s Rank Checker to see how those terms are performing. The nice thing about Rank Checker is that it searches Etsy for that specific term and then shows me the top 500 listings it found, stripped of Etsy Ads and Etsy’s “personalization.” I can see whether my listing currently ranks for that search term, and I can see my competition for it, alongside their images, titles, tags, prices, and more. Sometimes, Rank Checker helps me spot a phrase in the middle or end of my title that is ranking really well, and I can simply move that term to the beginning of my title and see if that improves my views.
When I’m finishing researching, I’ll make my changes in my Etsy shop and come back and click eRank’s orange Refresh Data button to update my eRank data. In the future, I’ll have a good idea if those changes are helping based on my previously-tracked data.
Give Your Changes Time
Generally, I’ll make one change and give Etsy 3-5 days to start placing it in some searches before my curiosity gets the better of me and I take a peek to see if my views are improving. But we know it can take Etsy a little time to gather the data from shopper interaction in order to update an item’s Listing Quality Score, so once I’ve made my changes, I try to let them ride for 30 days without making any more changes. I usually visit my Listings > Changes tab once a week to see whether my changes might be accumulating more views or favorites.
When you make a change to a tracked listing’s text, eRank shows the new characters you added in green text, and characters you replaced in red strikethrough text. Price changes will show the amount change. Over 30 days or so, I can see how the changes I’ve made have improved my views, visits, favorites, and hopefully my sales.
Tracking a New Listing: A Case Study
If I have a new listing which is using keywords that are new to my shop and items, I like to turn on Track Changes right after I list it. Then I’ll visit it in the Changes report once a day for the next 3-5 days to see how it’s doing. For my shop, launching new items and introducing new keywords are big, so I tend to check them more often than the once-weekly visits I make to the others I’m using Track Changes to assess.
For the listing below, the more I thought about it, and did a little more research for it, I realized that I really had not optimized this listing as well as I could have.
So, I made a few tweaks to my title and tags. And decided to visit it the next day to see if those had helped it out any.
When I came back the next day, I realized that an important search term I was using should be closer to the beginning of my title. Next, I noticed that I had not optimized my tags to match my title. (I like to repeat my title’s “superstar” keywords in my tags, and yes, I do my tags in the same order as my title … mostly to ensure I don’t forget one!) So I made those few changes too, and then I added a term I had spotted was popular with other shops selling this type of item. And finally, I changed my price because I realized I’d figured it wrong, and it had ended up a bit overpriced compared to those of my closest competitors.
(I know, I know: that’s a lot of changes to make in one day, and it breaks the “changing one term at a time” rule and a quite a few other rules, too, and then throws them all out the window!) But this was a brand-new listing for an item new to my shop, so I figured that in terms of Etsy’s Listing Quality Score, I had nothing to lose. Since I had made so many changes to this listing, I also paid the 20 cents to renew it so that Etsy would immediately see my new keywords and start to place me in those new searches.
Lo and behold! The next day I was pleasantly surprised by an increase in views. So I decided to leave well enough alone and let it ride for 30 days before making any more changes. I’m happy to say that this item started selling, and now I have a history of my changes that I made which helped increase its views, favorites, and brought in some sales.
However, since I’d made so many changes in just a few days, I really could not judge which changes brought the increased views to my listing. So, if you’re wanting to track individual keyword changes, or a price, or an image change, I do recommend making just one change at a time, and then give it at least 30 days to assess its impact – 3-5 days is not an adequate testing period. Let a change ride for at least 30 days before you consider tweaking it again.
A/B Image Testing: A Case Study
We all know images are so important for our items. Your thumbnail image makes the first impression a shopper forms about your item. Is it clear and showing your item in its best light? Does it go hand in hand with the first few words of your title? I like to think of an appealing thumbnail as “eye candy” for a shopper, and the better it showcases your item, the more likely a shopper is to click.
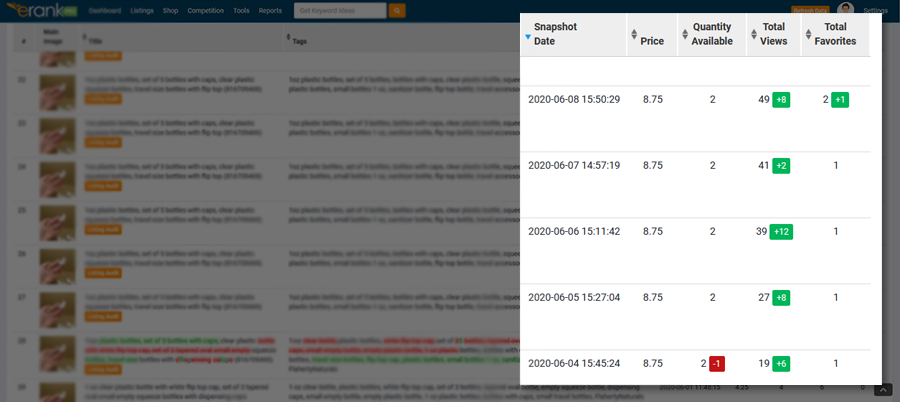
I know how hard it can be to shoot and edit great images, and I’m guilty of settling for “done” instead of “perfect and done.” A case in point: back in June, I knew the product images for a listing I was working on were pretty bad, and so I was in the process of shooting and editing better ones, but I wanted to get the product listed. I went ahead with posting it with the substandard images, knowing that in a day or two I’d be able to get my improved images finished and uploaded. I turned on Track Changes when I listed it, then I worked like a mad woman on the new images and two days later, I updated them.
As shown below (the snapshots are ordered by date, in reverse date order), on the following day my listing received two more views. The day after that, it received no views, but on the fourth day it got a view, a favorite, and a sale!
(And I’ve learned my lesson about rushing to list an item before I had the best images I’m capable of, ready and at hand.)
In the future, I plan to use Track Changes to see how new images for my older listings might improve their views, favorites and sales.
Oh, and one more reason to only make one change at a time: since Track Changes takes only one snapshot a day, if you make several changes to a listing at once, eRank will only be able to capture the last change you made.
So, when you sell an item and then that same day you relist it if it sold out, or you increase the quantity available, the Changes report won’t be able to show you the sale or decreased quantity available. Keep in mind that eRank takes that one snapshot of your listing late in the day (Eastern time), so to capture accurate data of your results, try not to relist the sold-out item or increase its quantity until after midnight on the day it sold.
That’s it for now. Hope this helps! I’d love to hear about your own results, or different ways you use Track Changes. Feel free to start a thread in our friendly eRank Facebook community. And if you prefer to learn from videos, our Pam Duthie has made one, here.

Debbie Flaherty
eRank Customer Support Manager, and Moderator of eRank Facebook group.