This post is also available in:
In 2026, selling print on demand on Etsy remains one of the most beginner-friendly ways to start an online business. If you’re wondering how to sell print on demand on Etsy successfully, this guide walks you through all of the essentials.
Today, we’ll discuss the following:
- What print on demand is
- How it works on Etsy
- How to choose a supplier
- How to optimize your listings
- What actually matters for long-term success
What Is Print on Demand?
Print on demand (POD) is a business model where products are only created after a customer places an order.
Instead of buying inventory upfront, you:
- Create a design
- Upload it to a product (like a t-shirt, mug, journal, or tote bag)
- List the product in your Etsy shop
- Monitor your POD supplier to ensure that they both print and ship the product after a customer orders it
You don’t need to store inventory.
You don’t need to pack boxes.
You don’t need to buy bulk stock.
You pay your supplier after Etsy has collected your customer’s payment, and then the order goes into production.
For new sellers in 2026, this makes POD a lower-risk way to test ideas quickly.
Step 1: Open and Prepare Your Etsy Shop for Print on Demand
Before anything else, you’ll need to open a shop on Etsy.
Make sure you:
- Choose a niche-focused shop name
- Upload a logo and banner
- Complete your shop’s policies
- Fill out your shop’s “About” section
In 2026, generic shops struggle. Niche brands win.
Instead of “Funny Shirt Shop,” think:
- Teacher Humor Co.
- Blue Collar Dad Apparel
- Cozy Reader Club Gifts
We recommend finding a niche that you not only enjoy spending your time in, but also have some previous experience with. This will make the process of growing your shop much easier.
Step 2: Choose a Print on Demand Supplier for Etsy
There are many POD suppliers available in 2026. Some connect directly to Etsy. Others require manual order placement.
When “shopping” for a supplier, order samples and compare:
- Product quality
- Print quality
- Production time
- Shipping speed
- Pricing
- Reviews
- Location
Your supplier becomes part of your brand experience, so choose carefully.
Step 3: Research Before You Design
One of the biggest mistakes new sellers make is designing first and researching later.
Instead, start with data.
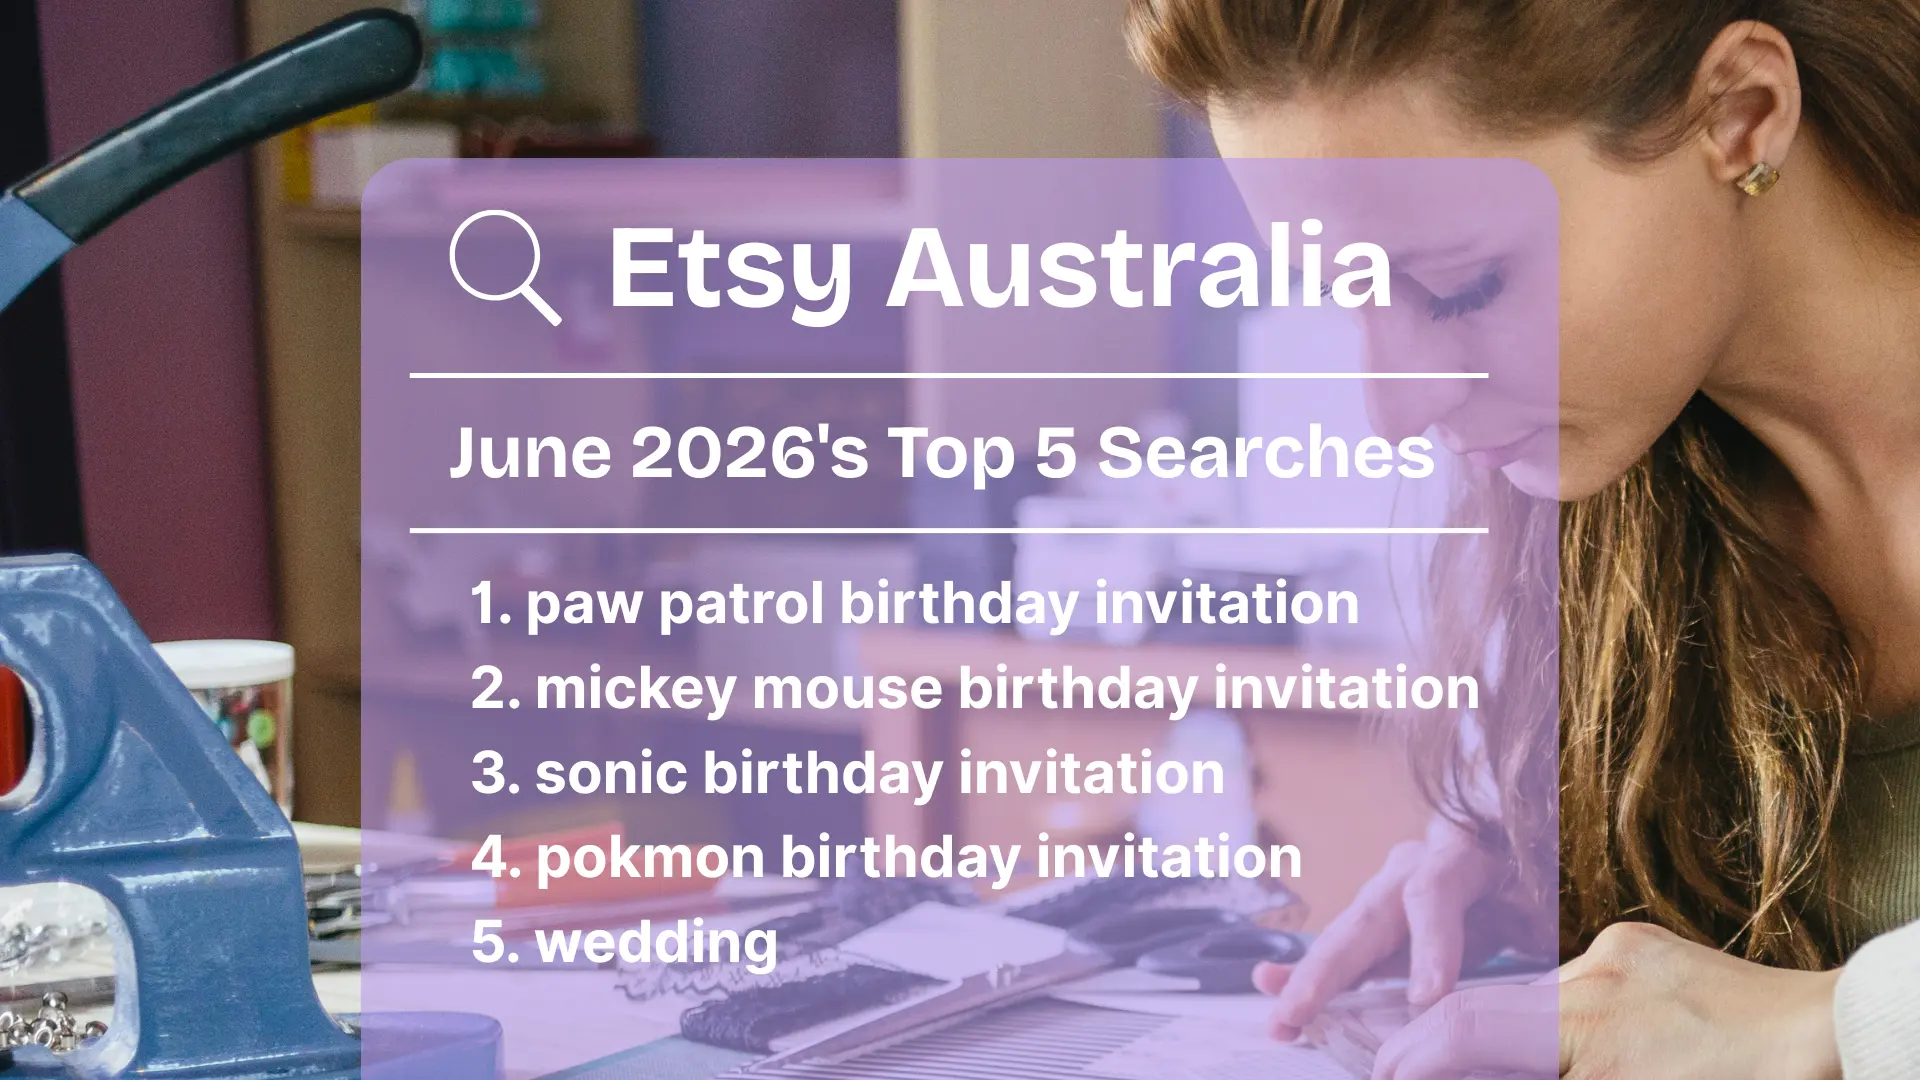
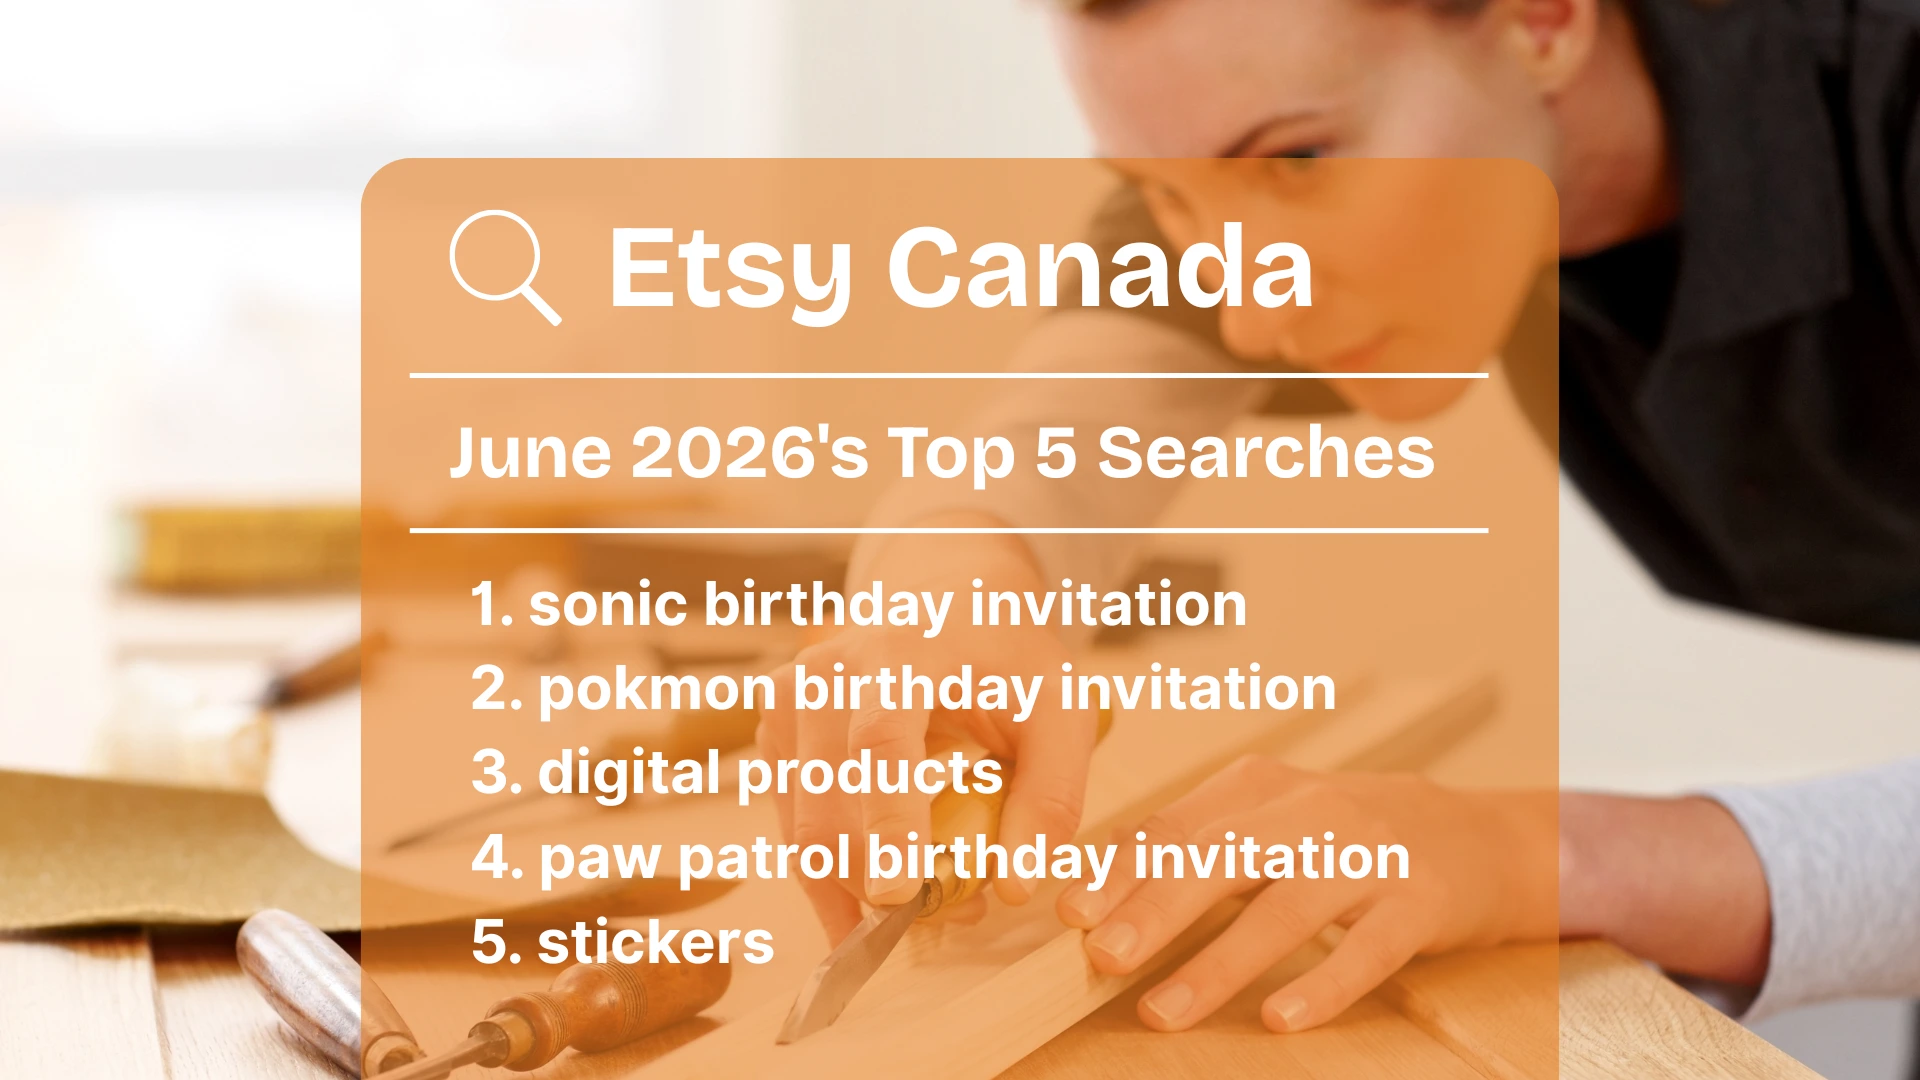
Use tools like eRank to identify:
- Popular keywords
- Seasonal spikes
- Low-competition niches
- Trending products
Look for:
- Passion-based niches (examples: teachers, nurses, and dog moms)
- Hobby communities (examples: pickleball players, knitters, and hikers)
- Event-driven buyers (examples: shoppers browsing for gifts for weddings, graduations, and holidays)
- Personalization demand in any of the categories mentioned above
In 2026, smart sellers design around demand, not guesswork.
Step 4: Create Your Print on Demand Product
Once you have done your research and created your designs, it’s time to pair those designs with products to sell. You can do this on your POD platform of choice. Every platform offers a slightly different variety of products, so make sure that you choose one that offers the types of products you plan to sell.
Inside your POD platform:
- Select a product
- Upload your designs
- Adjust the placement and size of your designs on each mockup
- Choose which variants (examples: colors, sizes, and styles) you’d like to offer for each product
- Set pricing
Always preview mockups carefully before adding them to your Etsy listings.
Bad mockups kill shoppers’ trust. Clean, realistic mockups increase conversions and help shoppers feel confident about what they’re buying. Your products’ images should clearly show scale, texture, and fit, especially for apparel and home decor.
If you’re unsure how to create high-quality mockups that actually convert, take time to learn what makes them effective and realistic. Strong mockups can make the difference between a listing that gets ignored and one that builds immediate trust.
Step 5: Publish and Optimize on Etsy
Once your product syncs (or you create the listing manually), you can optimize it in the listing editor on Etsy.
Title
Utilize phrases that are searchable and look “natural” to shoppers.
Example:
Instead of: “Funny Shirt”
Try: “Funny Teacher T Shirt, First Grade Teacher Gift, Back to School Shirt”
Tags
Use all 13 spots for tags that Etsy offers. Otherwise, you’re missing potential opportunities to find your customers. Choose tags that accurately describe your product, its niche, and the artwork on it.
💡TIP: Use eRank’s Keyword Tool to help locate relevant and winning keywords for your product.
Attributes
Fill out every attribute that is relevant to each product. Attributes help match products with the right shoppers.
Category
Choose the most specific category available for each product.
Add Video
Short product videos can increase trust and conversion rates. According to Etsy, listings that contain a video convert better, so include videos whenever possible.
Step 6: Follow Etsy’s Production Partner Rules
If you use a POD supplier, you must disclose them as a production partner within each Etsy listing that contains any of their products.
Under “Who made it?” choose “Another company or person.”
Transparency protects your shop.
Step 7: Set Clear Policies for Made-to-Order Products
Clear policies help set buyers’ expectations. Make sure that your customers know what to expect when buying from you.
Since POD items are made after customers purchase them:
- Clarify return policies
- Specify production time
- Add size charts
- Explain personalization rules
Many POD sellers use:
- No returns on personalized items
- Exchanges for defects only
Make it visible. Clear policies reduce disputes.
Step 8: Brand Your Print on Demand Shop Like a Real Business
In 2026, buyers are more cautious than ever. A polished, professional brand presence signals credibility, builds trust, and reassures customers that they’re buying from a serious seller, not just another “get rich quick” scheme.
Successful POD shops (and Etsy shops, in general):
- Have consistent designs and styles throughout all of their products
- Target a specific audience
- Use cohesive, high-quality mockups
- Tell a story in the “About” section
- Feel “intentional”
You’re not just selling shirts. You’re building a niche brand.
As you grow, you might even try utilizing a hybrid approach to combine handmade products and print on demand. Many sellers choose to mix both models to strengthen their brand’s identity and offer a more distinctive product line. What matters most is that your shop feels cohesive, purposeful, and aligned with the audience that you want to serve.
Step 9: Market Your Products (Don’t Just List and Wait)
The “List it and they will come” era is over. In 2026, consistent and intentional marketing is what puts your products in front of the right shoppers. That is, the ones already looking for exactly what you’re selling.
Consider:
- Using Pinterest for evergreen traffic
- Utilizing short-form video on your shop’s social media
- Building an email list
- Planning seasonal launches 8–12 weeks early
- Trying out Etsy Ads (start small, and test carefully)
The sellers who grow in 2026 treat POD like a brand, not a side experiment.
2026 New Seller POD Checklist
Before you hit “Publish” on your first listing, take a moment to ensure that the foundation of your shop is solid. This quick checklist will help you avoid common beginner mistakes and launch your POD products with confidence in 2026.
Make sure that you have:
☐ A valid niche
☐ A reliable supplier
☐ Clean, professional mockups
☐ Optimized titles, descriptions, tags, and attributes
☐ Production partner(s) added to each listing
☐ Clear return and exchange policies
☐ A basic marketing plan
Final Advice for Print on Demand Etsy Sellers in 2026
While selling print on demand on Etsy requires relatively little labor upfront, building a successful shop takes patience and intention. You don’t need to get everything perfect on day one. Focus on learning, testing designs, and improving consistently.
The sellers who succeed in 2026 will:
- Choose a clear niche
- Design around shopper demand
- Continue optimizing their listings over time
- Treat their shop like a “real business”
- Think long-term
Start small and stay focused. Try launching just 3–5 thoughtfully researched products, pay attention to how customers respond, and use real data to guide your next moves. Once you see what’s working, scale gradually by adding more designs, variations, or complementary products with intention.
Our team is continuously improving eRank’s tools to better serve our members. Due to this, some of the content featured in this post may differ from the content featured on erank.com.